Introduction
Apache Tomcat is a web server and servlet container that is used to serve Java applications. Tomcat is an open source implementation of the Java Servlet and JavaServer Pages technologies, released by the Apache Software Foundation. This tutorial covers the basic installation and some configuration of the latest release of Tomcat 8 on your CentOS 7 server.
Prerequisites
Before you begin with this guide, you should have a separate, non-root user account set up on your server. You can learn how to do this by completing steps 1-3 in the initial server setup for CentOS 7. We will be using the
demo user created here for the rest of this tutorial.Install Java
Tomcat requires that Java is installed on the server, so any Java web application code can be executed. Let's satisfy that requirement by installing OpenJDK 7 with yum.
To install OpenJDK 7 JDK using yum, run this command:
- sudo yum install java-1.7.0-openjdk-devel
Answer
y at the prompt to continue installing OpenJDK 7.
Note that a shortcut to the JAVA_HOME directory, which we will need to configure Tomcat later, can be found at
/usr/lib/jvm/jre.
Now that Java is installed, let's create a
tomcat user, which will be used to run the Tomcat service.Create Tomcat User
For security purposes, Tomcat should be run as an unprivileged user (i.e. not root). We will create a new user and group that will run the Tomcat service.
First, create a new
tomcat group:
- sudo groupadd tomcat
Then create a new
tomcat user. We'll make this user a member of the tomcat group, with a home directory of /opt/tomcat (where we will install Tomcat), and with a shell of /bin/false (so nobody can log into the account):
- sudo useradd -M -s /bin/nologin -g tomcat -d /opt/tomcat tomcat
Now that our
tomcat user is set up, let's download and install Tomcat.Install Tomcat
The easiest way to install Tomcat 8 at this time is to download the latest binary release then configure it manually.
Download Tomcat Binary
Find the latest version of Tomcat 8 at the Tomcat 8 Downloads page. At the time of writing, the latest version is 8.5.9. Under the Binary Distributions section, then under the Core list, copy the link to the "tar.gz".
Let's download the latest binary distribution to our home directory.
First, change to your home directory:
- cd ~
Then use
wget and paste in the link to download the Tomcat 8 archive, like this (your mirror link will probably differ from the example):
- wget http://apache.mirrors.ionfish.org/tomcat/tomcat-8/v8.5.9/bin/apache-tomcat-8.5.9.tar.gz
We're going to install Tomcat to the
/opt/tomcat directory. Create the directory, then extract the the archive to it with these commands:
- sudo mkdir /opt/tomcat
- sudo tar xvf apache-tomcat-8*tar.gz -C /opt/tomcat --strip-components=1
Now we're ready to set up the proper user permissions.
Update Permissions
The
tomcat user that we set up needs to have the proper access to the Tomcat installation. We'll set that up now.
Change to the Tomcat installation path:
- cd /opt/tomcat
Give the
tomcat group ownership over the entire installation directory:
- sudo chgrp -R tomcat /opt/tomcat
Next, give the
tomcat group read access to the conf directory and all of its contents, and execute access to the directory itself:
- sudo chmod -R g+r conf
- sudo chmod g+x conf
Then make the
tomcat user the owner of the webapps, work, temp, and logs directories:
- sudo chown -R tomcat webapps/ work/ temp/ logs/
Now that the proper permissions are set up, let's set up a Systemd unit file.
Install Systemd Unit File
Because we want to be able to run Tomcat as a service, we will set up a Tomcat Systemd unit file .
Create and open the unit file by running this command:
- sudo vi /etc/systemd/system/tomcat.service
Paste in the following script. You may also want to modify the memory allocation settings that are specified in
CATALINA_OPTS:
/etc/systemd/system/tomcat.service
# Systemd unit file for tomcat
[Unit]
Description=Apache Tomcat Web Application Container
After=syslog.target network.target

[Service]
Type=forking

Environment=JAVA_HOME=/usr/lib/jvm/jre
Environment=CATALINA_PID=/opt/tomcat/temp/tomcat.pid
Environment=CATALINA_HOME=/opt/tomcat
Environment=CATALINA_BASE=/opt/tomcat
Environment='CATALINA_OPTS=-Xms512M -Xmx1024M -server -XX:+UseParallelGC'
Environment='JAVA_OPTS=-Djava.awt.headless=true -Djava.security.egd=file:/dev/./urandom'

ExecStart=/opt/tomcat/bin/startup.sh
ExecStop=/bin/kill -15 $MAINPID

User=tomcat
Group=tomcat
UMask=0007
RestartSec=10
Restart=always

[Install]
WantedBy=multi-user.target
Save and exit. This script tells the server to run the Tomcat service as the
tomcat user, with the settings specified.
Now reload Systemd to load the Tomcat unit file:
- sudo systemctl daemon-reload
Now you can start the Tomcat service with this
systemctl command:
- sudo systemctl start tomcat
Check that the service successfully started by typing:
- sudo systemctl status tomcat
If you want to enable the Tomcat service, so it starts on server boot, run this command:
- sudo systemctl enable tomcat
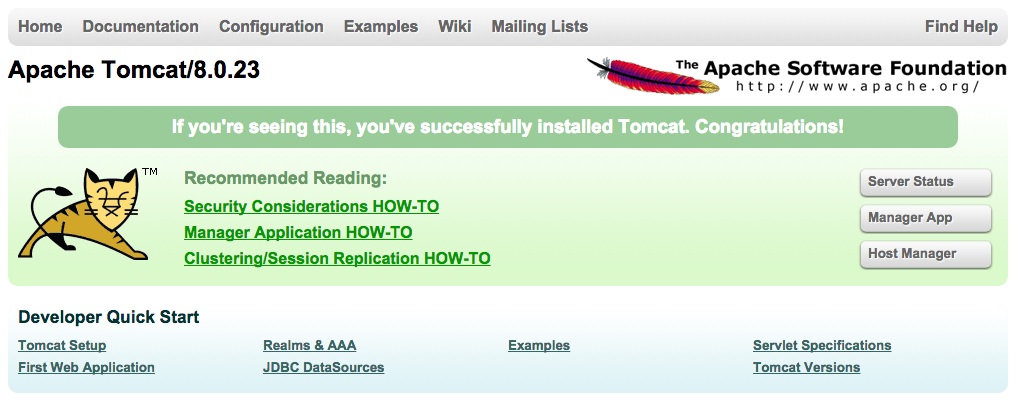
Tomcat is not completely set up yet, but you can access the default splash page by going to your domain or IP address followed by
:8080 in a web browser:
Open in web browser:
http://server_IP_address:8080
You will see the default Tomcat splash page, in addition to other information. Now we will go deeper into the installation of Tomcat.
Configure Tomcat Web Management Interface
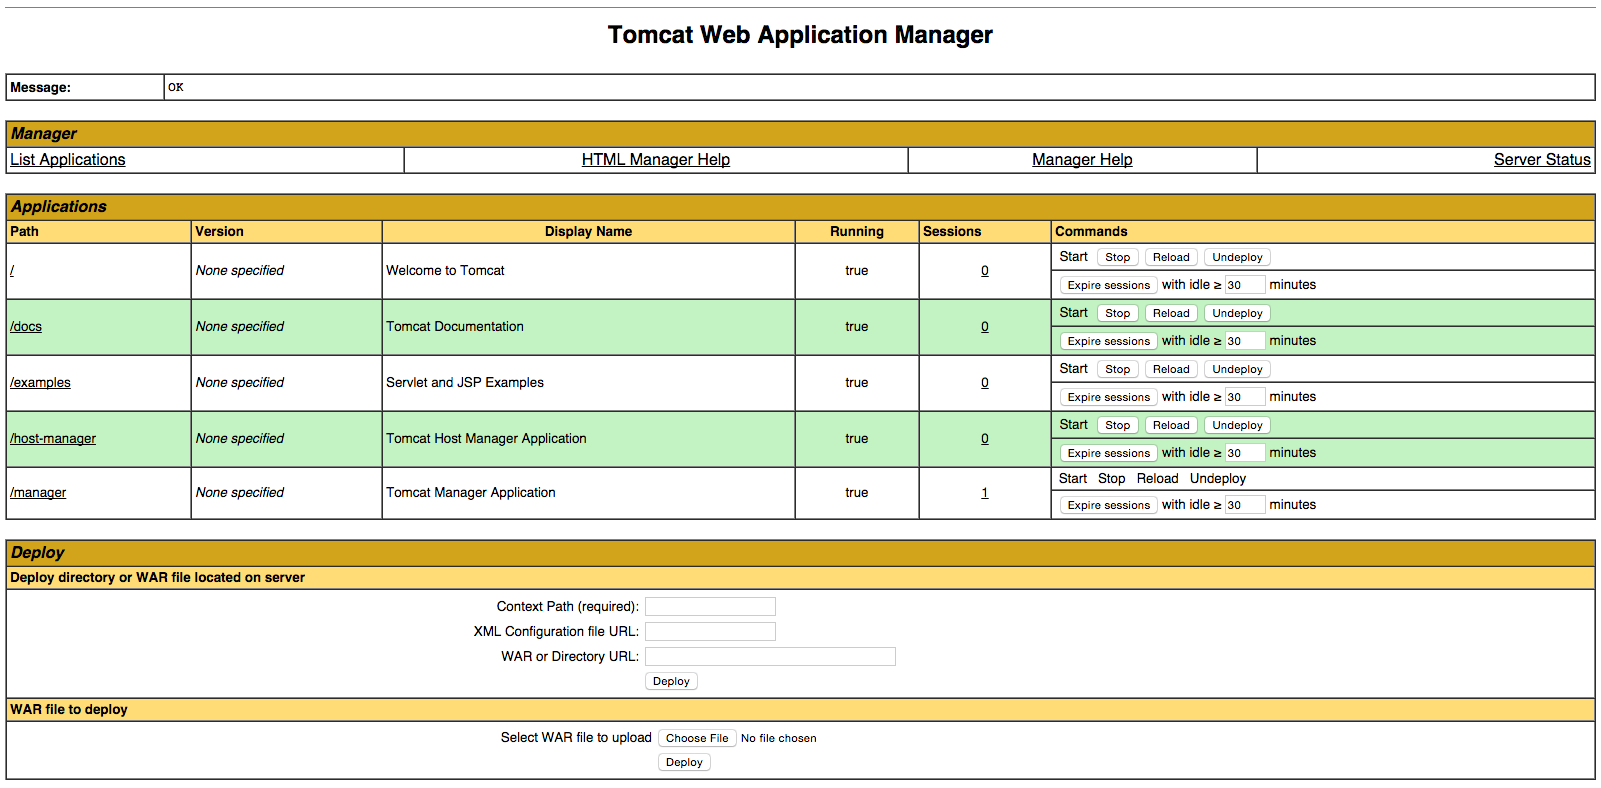
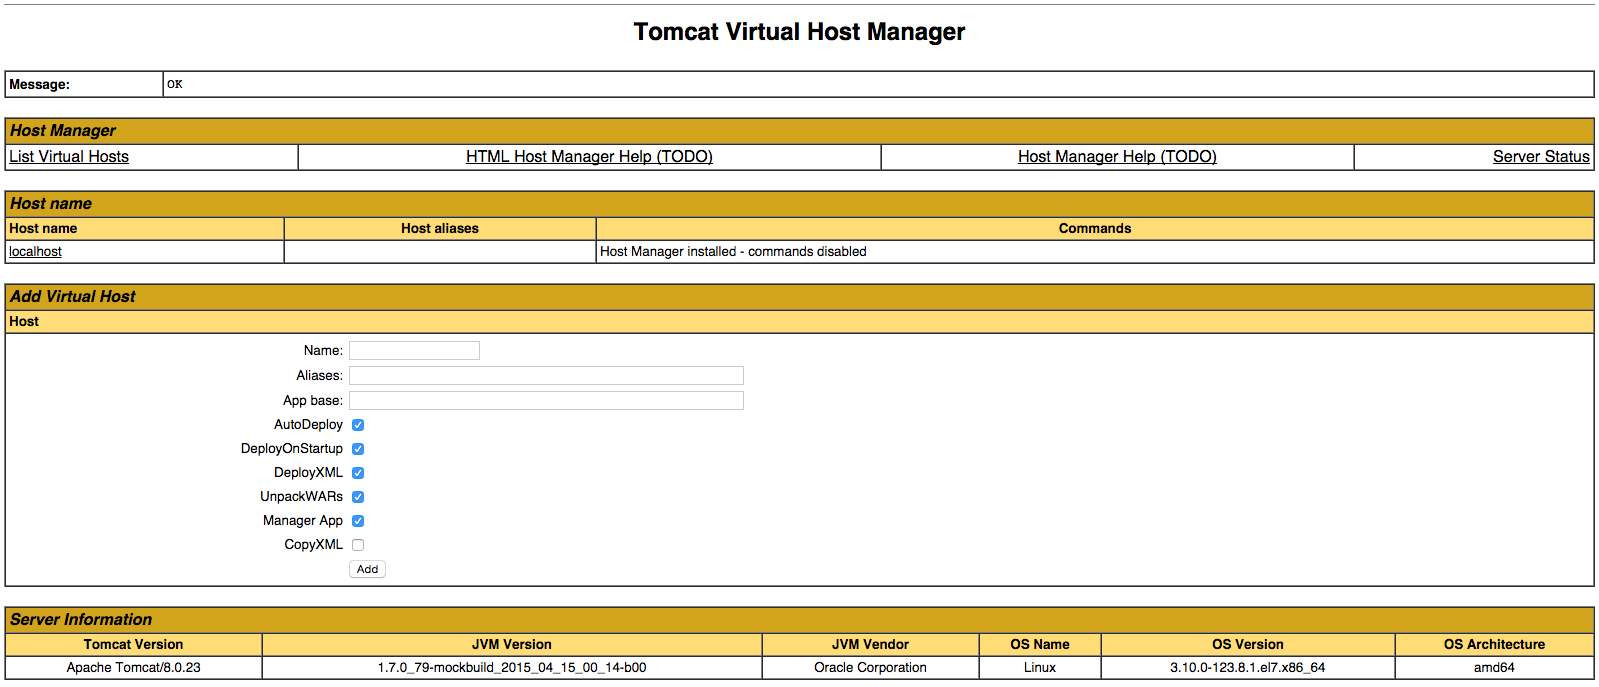
In order to use the manager webapp that comes with Tomcat, we must add a login to our Tomcat server. We will do this by editing the
tomcat-users.xml file:
- sudo vi /opt/tomcat/conf/tomcat-users.xml
This file is filled with comments which describe how to configure the file. You may want to delete all the comments between the following two lines, or you may leave them if you want to reference the examples:
tomcat-users.xml excerpt
...
You will want to add a user who can access the
manager-gui and admin-gui (webapps that come with Tomcat). You can do so by defining a user similar to the example below. Be sure to change the username and password to something secure:
tomcat-users.xml — Admin User
admin